아래의 게시글을 확인하고 본 글을 읽기 바랍니다.
[Spring] Spring을 이용한 Todo Crud 구현하기(1) - Spring boot 셋팅
해당 게시글은 아래 스택을 이용하여 구현할 예정 입니다. Spring boot Spring Security + JWT JPA 1. Spring Boot 생성 먼저 Spring Boot Project를 생성하기 위하여 아래의 사이트에 접속한다. https://start.spring.io/ 위
pinomaker.com
이번 게시글에서는 JPA와 MySQL를 셋팅해보자
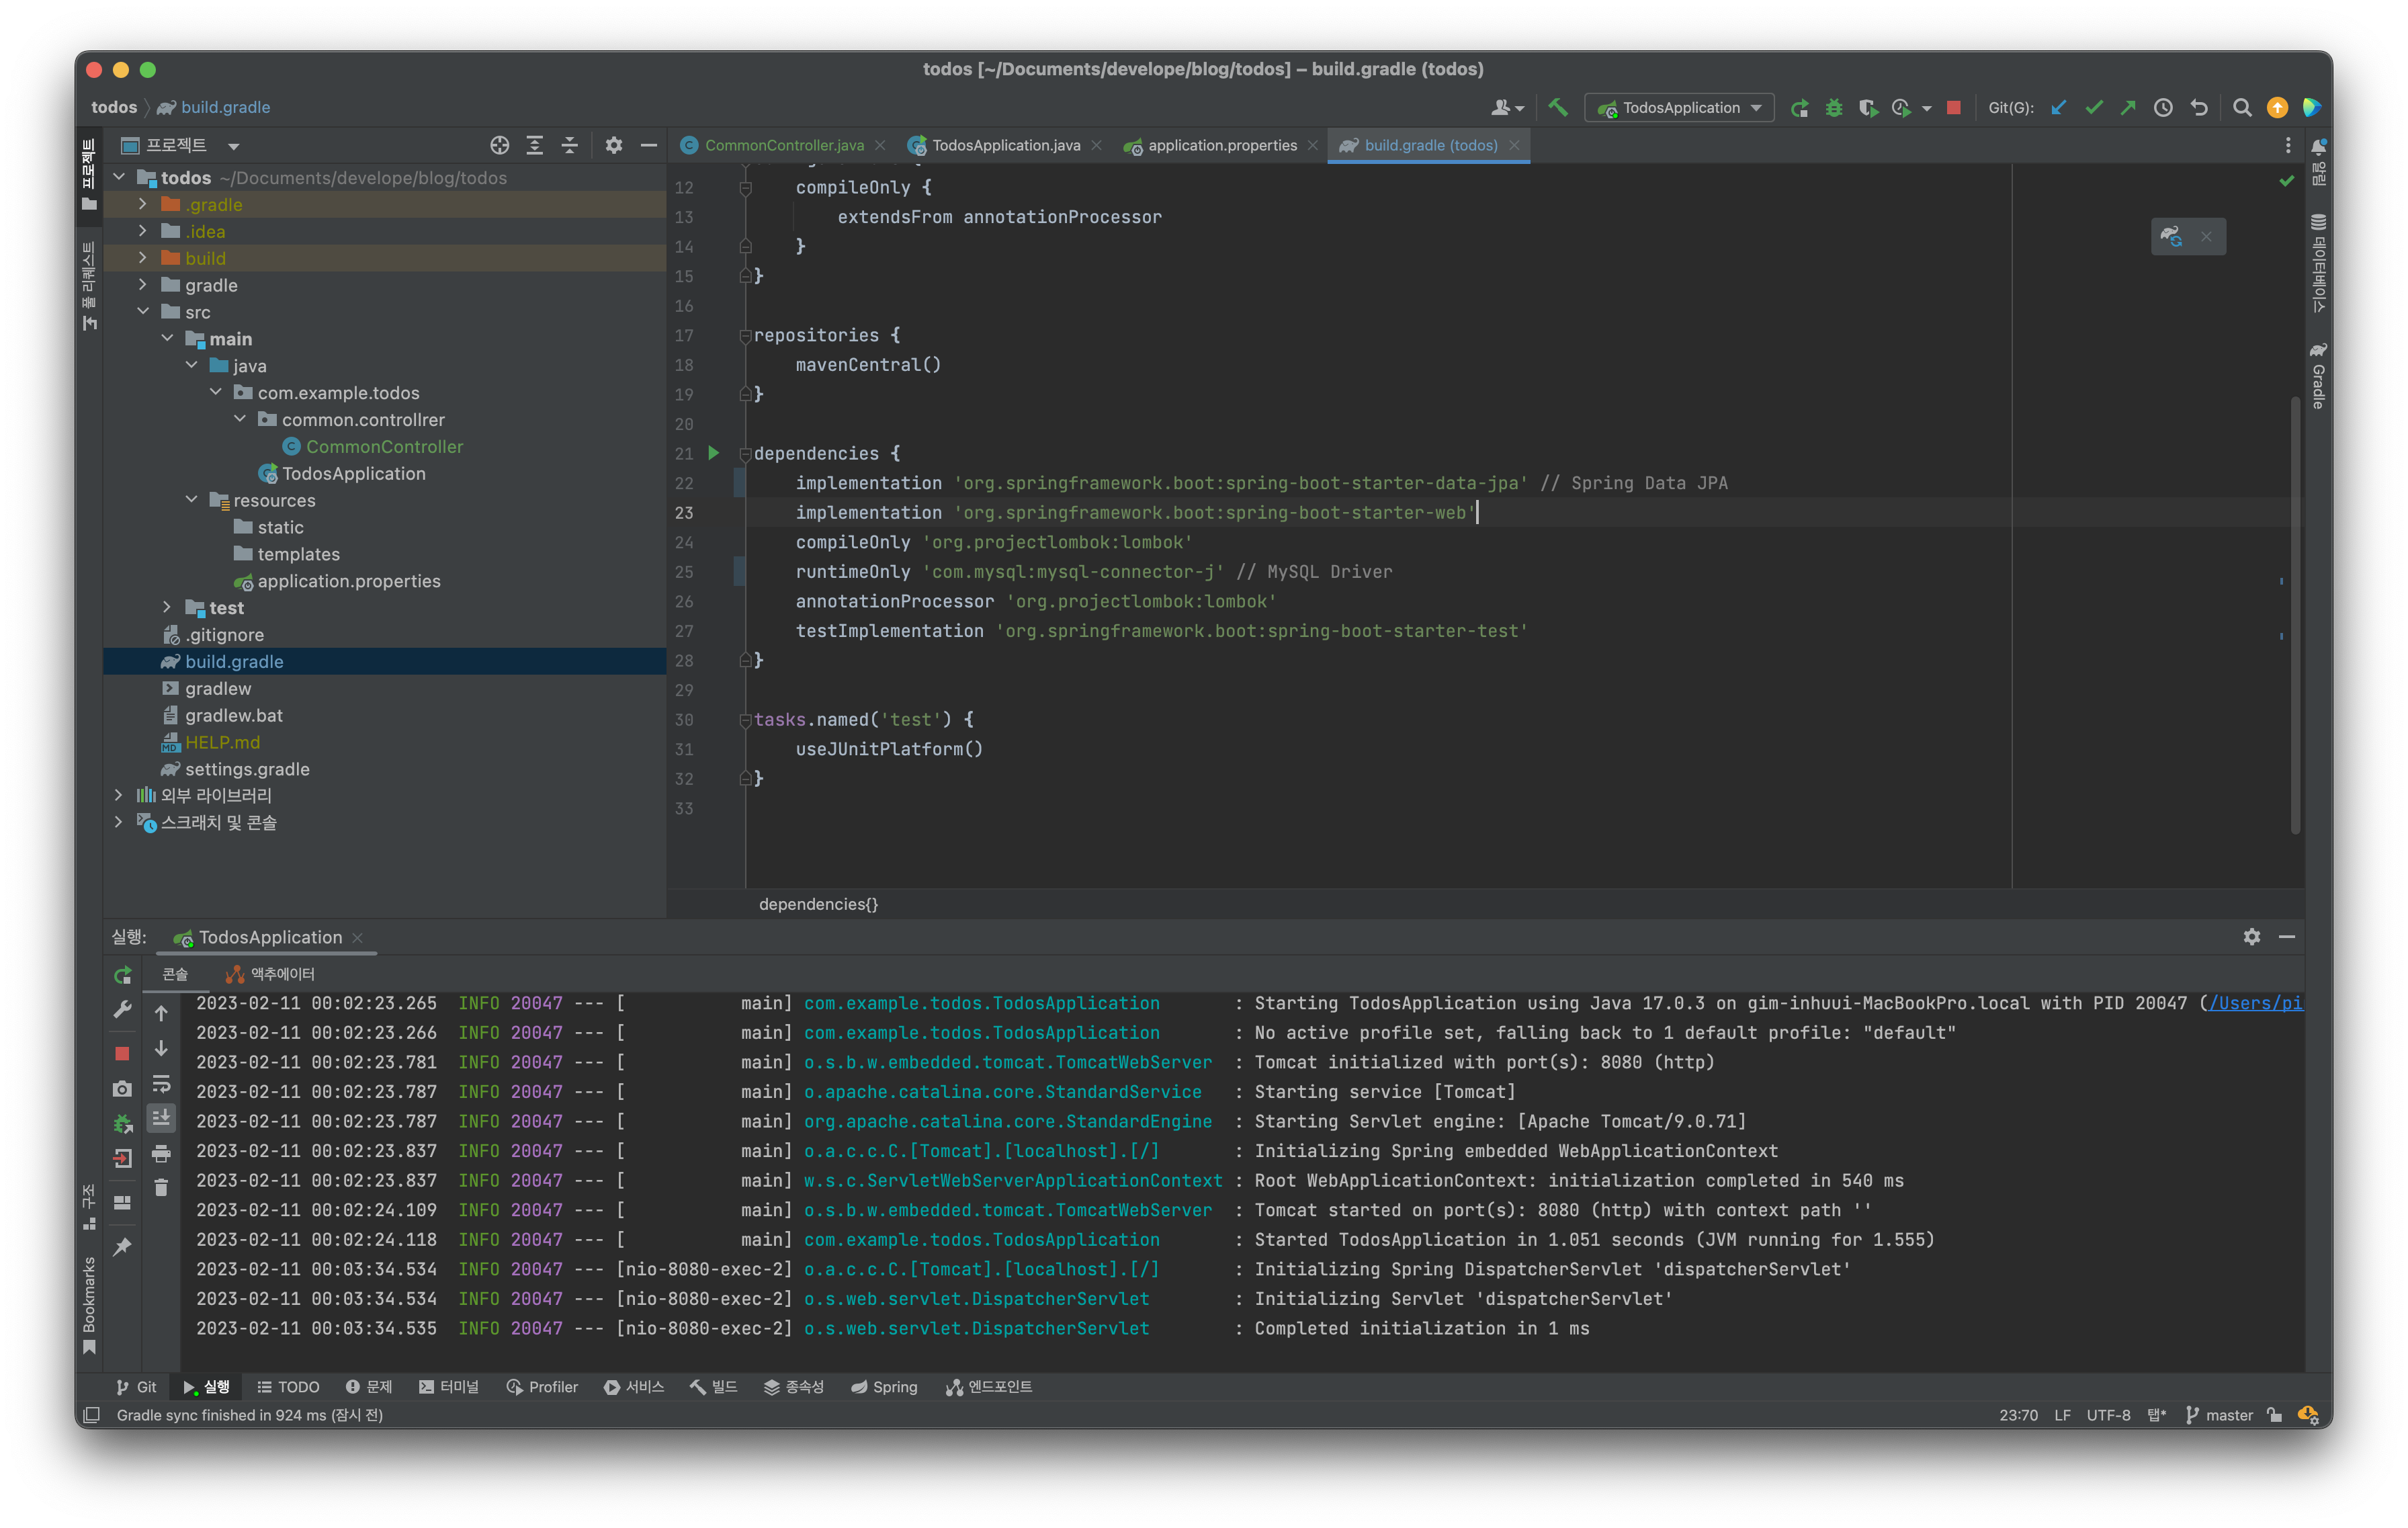
runtimeOnly 'com.mysql:mysql-connector-j' // MySQL Driver
implementation 'org.springframework.boot:spring-boot-starter-data-jpa' // Spring Data JPA
먼저 build.gradle에서 Spring Data Jpa와 MySQL Driver에 대한 의존성을 추가한다. 추가하게 되면 아래의 이미지처럼 우측 상단에 Gradle의 로고가 나오는 데 저 버튼을 눌러서 필요한 의존성을 설치한다.

설치가 다 되었으면 이제 resource/application.properties에 DB 연결을 위한 정보를 기입해야하는 데 그 전에 나는 가독성을 위하여 .properties 확장자에서 .yml 확장자로 변경하여 사용한다. (아래 링크 참고)
https://goddaehee.tistory.com/213
[스프링부트 (11)] SpringBoot YAML 적용하기(properties vs yaml)
[스프링부트 (11)] SpringBoot YAML 적용하기(properties vs yaml) 안녕하세요. 갓대희 입니다. 이번 포스팅은 [ Spring Boot Properties 대신 YAML적용하기 ] 입니다. : ) 1. YAML이란? ▶ YAML (YML Ain't Markup Language) - 자세
goddaehee.tistory.com

spring:
  datasource:
    driver-class-name: com.mysql.cj.jdbc.Driver # DB Driver
    url: jdbc:mysql://123.123.123.123:3306/db_name # DB URL
    username: admin # DB Username
    password: 1234 # DB User Password
  jpa:
    show-sql: true
    hibernate:
      ddl-auto: update
      use-new-id-generator-mappings: false
    properties:
      hibernate:
        format_sql: true
위와 같이 JPA와 MySQL DB에 연결을 하기 위한 기본적인 설정 정보를 입력하면 끝이다!
'B.E > Spring' 카테고리의 다른 글
| [Spring] Spring을 이용한 Todo Crud 구현하기(1) - Spring boot 셋팅 (2) | 2023.02.11 |
|---|---|
| [Spring] Spring DI에 대해서 알아보자. (0) | 2022.11.18 |
| Templatee Engine, Mustache 문법 (0) | 2022.11.17 |
| [Spring] MyBatis에 대해 알아보자. (0) | 2022.11.10 |
| [Spring] 싱글톤 패턴 (0) | 2022.08.29 |
